EN
EN  ES
ES  DE
DE  PT
PT  IT
IT  JA
JA  ID
ID How to Schedule a WordPress Form by Date and Time
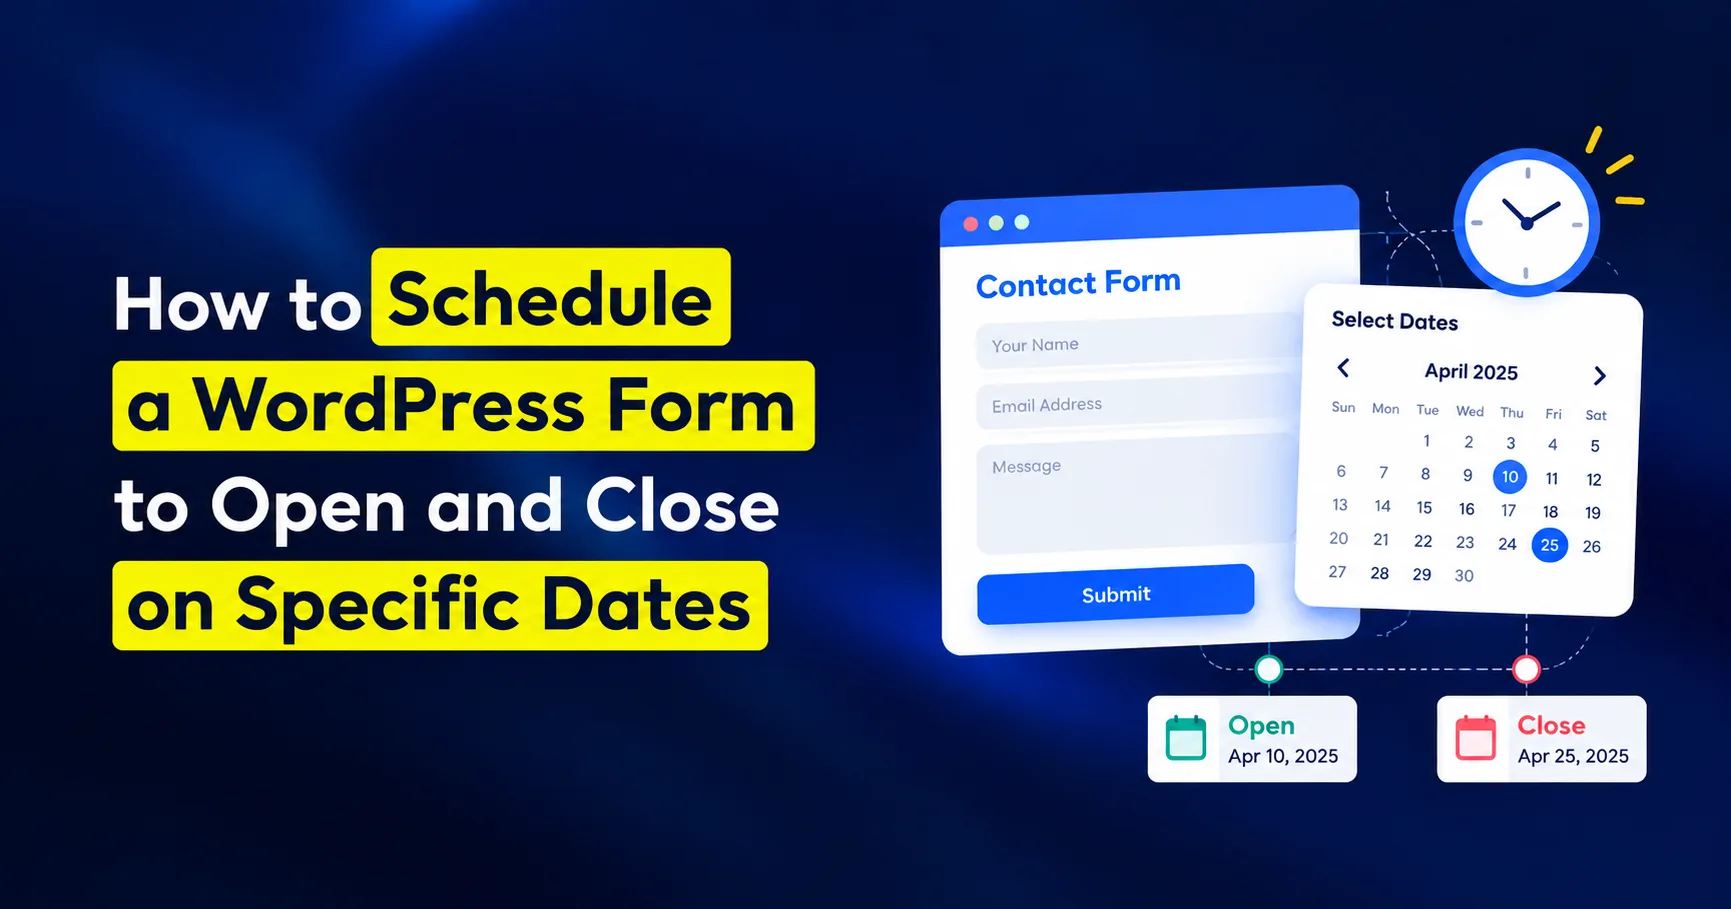
Most registration and application forms are meant to run only during a fixed period. After that timeline, no entries should be accepted. Yet a lot of them still stay active and continue accepting submissions. The reason? Somebody forgot to close the form.
Say, an event signup may open on September 15 and should close on September 30. If the form stays active after the deadline, submissions will keep coming in, creating extra follow-up and confusion for people who missed the window.
That’s why it is better to keep the form open only for a specific date and time period. However, if you manage these dates manually, it is easy to forget to close the form on time.
Here’s how to schedule a WordPress form to open and close automatically on the dates you choose, and how to restrict submissions to logged-in users or specific IP addresses. It’s a very simple process if you’re using a form builder plugin that has these options by default.
TL;DR
To schedule a WordPress form with Bit Form, follow the easy steps stated below:
- Bit Form’s Limit Form Submission Period setting opens and closes a form automatically on the dates you pick; you stop babysitting the toggle.
- Scheduling and privacy solve two different problems. The scheduled period controls when users can submit. There are other settings that control who can submit or how many entries the form can accept. To control who submits, add Require users to be logged in or an Allowed/Blocked IP rule on top.
- These settings live under the same Settings tab and can be used together when you need both scheduling and access restrictions.
Why Schedule a WordPress Form?
As I said, some forms are meant to collect responses only within a defined period, unlike general contact or complaint forms that may stay open continuously. Think about these situations:
An event registration form may need to close before the event begins. A scholarship application may accept applicants until a fixed deadline. A course enrollment form may remain open only during the admission period.
Without a schedule, you have to remember when to enable or disable the form yourself. That creates room for mistakes, especially when you manage several campaigns or forms at once.
Scheduling a WordPress form helps you:
- Open submissions automatically at a planned date and time
- Stop accepting entries after the deadline
- Avoid late submissions
- Keep registration and application periods consistent
- Reduce the need for manual form management
A scheduled form is especially useful when the submission period is part of the process. The form doesn’t need to remain available just because the webpage is still online.
Scheduled Form vs. Restricted Form
A scheduled form and a restricted form solve two different problems.
A scheduled form controls when people can submit entries. You define a start date and an end date, and the form accepts submissions only during that period.
A restricted form controls who can submit the form. For example, you may want only logged-in members or people using approved IP addresses to submit it.
These restrictions can also work together.
| Your requirement | Suitable restriction |
| Accept submissions only between two dates | Submission period |
| Allow only logged-in users to submit | Require users to be logged in |
| Allow submissions from selected IP addresses | Allowed IP |
| Block submissions from unwanted IP addresses | Blocked IP |
| Stop accepting entries after reaching a set number | Disable form after limited entry |
Choosing the right restriction first will help you configure the form without adding unnecessary barriers for your visitors.
Next, let’s schedule WordPress form submissions.
How to Schedule a WordPress Form to be Available on Specific Dates
You don’t need code for this in Bit Form because the scheduling option is built into its form settings. Here, I’m using Bit Form to show you the process. I personally like how form creation is effortless with this drag-and-drop builder, plus its pricing is affordable. Anyone from small businesses to established businesses can use it; it also offers lifetime deals.
Here’s how to set it up:
If you’ve installed Bit Form, then follow the steps below. If you have not created the form yet, follow this guide to create your first form with Bit Form.
Step 01: First, open the form you want to schedule, then go to Settings.
Step 02: Find “Limit Form Submission Period.” Turn it on.
You can select specific weekdays or set a custom start & end date and time. This means that during that period, the form will accept submissions.

Once the time passes, the form stops accepting new submissions on its own. No one has to remember to go turn it off.
Step 03: Save the form settings you’ve changed now.
That’s it. From here, the form runs itself. It opens when you told it to, closes when you told it to, and you don’t have to check back on it in between.
A couple of things worth knowing (if you’re new to WordPress) before you set the dates:
- The times follow your WordPress site’s timezone, not the visitor’s. If your site is set to Eastern Time and someone’s filling out the form from Tokyo, the cutoff still happens based on your site’s clock. Check your timezone under Settings → General in WordPress if you’re not sure what it’s set to.
- This only affects new submissions. Existing entries are not affected when you add or change the submission period. The restriction only controls new submissions.
How to Restrict Who Can Submit Your WordPress Form
Scheduling controls when a form accepts submissions. Sometimes, you also need to control who can submit it to prevent spam form submissions.
Bit Form includes additional form settings for restricting access. These options are useful for private registrations, internal applications, member-only forms, or forms shared with a specific group of users.
If your form is only for logged-in members of your site
If the form should be available only to registered users, enable the option to “Require users to be logged in for submitting the form” before making the form live.

This works well for:
- Member-only requests
- Internal employee applications
- Student or course enrollment
- Private community forms
- Account-based requests
Visitors who are not logged in will not be able to submit the form until they sign in. If users also need to manage their entries later, you can let logged-in users edit their own form submissions from the front end.
If your form is only for a few known IP addresses
Bit Form also provides Allowed IP and Blocked IP settings.
- Allowed IP: Accept submissions only from specified IP addresses.
- Blocked IP: Prevent submissions from specified IP addresses.

These options can help when a form is intended for a particular office, organization, network, or group of users.
Combine Form Scheduling With Access Restrictions
You can combine a submission period with an access restriction when both conditions matter.
For example, an internal application form could:
- Open on September 15 at 9:00 AM
- Close on September 30 at 11:59 PM
- Require users to log in
- Accept submissions only from logged-in users on approved networks
The submission period controls the deadline, while the access settings control who can submit. This gives you more precise control over the form without manually monitoring submissions throughout the registration period.
Test Your Scheduled WordPress Form
Before publishing the form, test the submission schedule to make sure it works as expected.
You can follow these steps:
- Save the form after setting the start and end dates of submission.
- Open the form using its shortcode, embedded location, or direct page URL.
- Check whether the form is available during the selected submission period.
- Test the form again outside the allowed period.
- Confirm that submissions are accepted only within the scheduled window.
Testing is especially important when your form is connected to email notifications, payment gateways, or other integrations. It helps you identify scheduling issues before visitors begin submitting entries.
Tip: Share the registration deadline clearly on the page so visitors know when submissions will stop. This eliminates confusion when the form is no longer available.
This covers the basic case: a form that’s only supposed to work between two dates. But what does someone actually see if they show up after it’s closed? That matters more than it sounds like, and it’s worth its own section.
What Happens When the Submission Period Ends?
Once the scheduled closing date and time pass, Bit Form stops accepting new submissions outside the defined period. This means you do not have to remember to manually disable the form when registration or applications close.
However, the page containing the form may still remain published. Visitors can continue to reach the page, but they will not be able to submit entries before the time period and after the deadline.
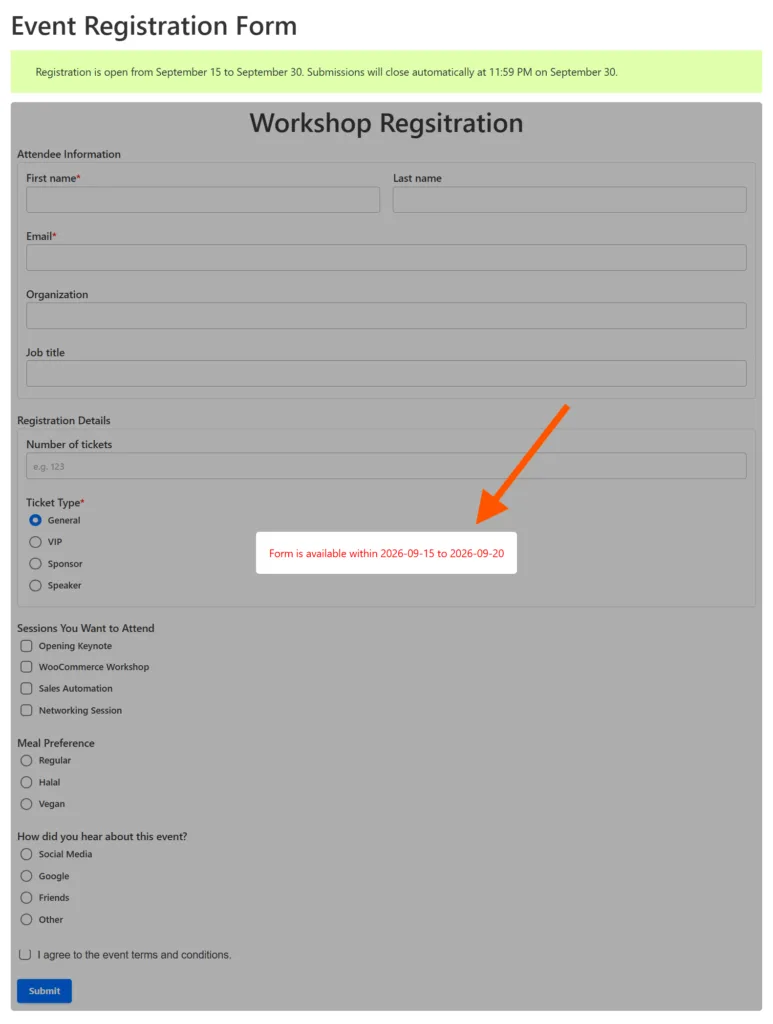
To make the experience clearer, add a short notice explaining:
- When submissions open
- When submissions close
- What happens after the deadline
- Where visitors can find updates or further information
For example:
Registration is open from September 15 to September 30. Submissions will close automatically at 11:59 PM on September 30.
Best Practices for WordPress Form Scheduling
A few simple checks can prevent most scheduling problems.
Use Exact Dates and Times: Write the full deadline instead of saying “registration closes soon.” A clear date and time reduces confusion for visitors and your team.
Match the Website Time Zone: Check the WordPress time zone before setting the schedule. This matters when your audience and website administrator are in different regions.
Test Before Launch: Test both sides of the schedule. The form should accept entries when it is open and reject them when it is closed.
Show the Deadline on the Page: Place the opening date and closing date near the form. Visitors should not have to guess whether registration is still available.
Add Access Restrictions Carefully: Use login requirements, IP restrictions, or single-entry rules only when they support the form’s purpose. Each additional restriction can affect legitimate users.
Wrap Up
A form that never closes isn’t doing anyone a favor, it just turns into late entries, confused emails, and submissions that are not checked anymore. Once the submission period and access settings are doing that work for you, none of that is something you have to remember.
Pick one form on your site right now, the one you’re about to close manually once the time ends, and give it a real submission window today. If it also needs to stay off-limits to random visitors, set the login or IP restriction at the same time.
If you’d rather have scheduling and access control sitting in the same settings tab instead of hunting through add-ons, Bit Form handles both right where you build the form.
FAQs
Does requiring login mean the same thing as password-protecting a form?
No. “Require users to be logged in” checks whether someone already has a WordPress account on your site. It doesn’t ask for a password. Password protection (usually done by making the page itself private or password-protected) lets in anyone who has the password, account or not. If your form is meant for actual registered users specifically, a login requirement is the right tool, not a password.
Do I need Bit Form Pro for scheduling and access restrictions?
Yes. Limit Form Submission Period, Require Login, and the Allowed/Blocked IP settings are all Bit Form Pro features. The free version gives you unlimited forms and submissions, but these particular controls aren’t in it.
What happens to submissions I already collected if I change the dates later?
Existing submissions stay unchanged. Updating the start or end date only affects whether new submissions are accepted going forward.
Can I reopen a form after its submission period ends?
Yes. Head back into Settings → Limit Form Submission Period and adjust or turn off the dates. It’s not a one-way lock — you can extend a deadline or reopen the form anytime.
Whose time zone does the submission window follow?
Your WordPress site’s timezone, not the visitor’s. If someone’s filling out the form from across the world right near the cutoff, the deadline still goes by your site’s clock. Worth checking under Settings → General before you lock in your dates.
Can I combine a submission deadline with IP restrictions?
Yes, this is a common setup for internal forms. A form could open for one week, accept logins only, and restrict entries to your office’s IP range, all at the same time. The settings can be used together, so you can combine a submission window with login and IP restrictions.


Related Blog

Podcast Guest Application Form: What to Ask and How to Build One

Create a Student Enrollment Form for School, College, or Course in WordPress